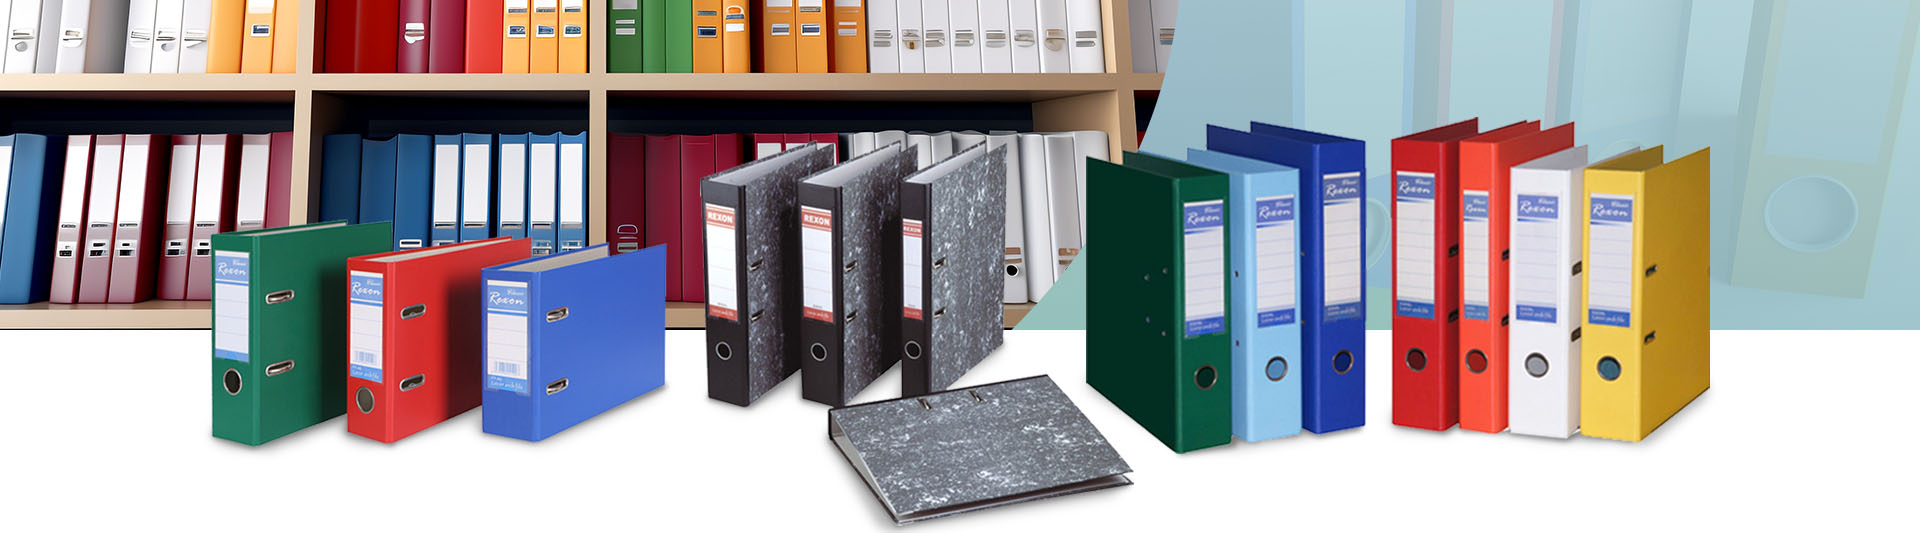
Replacing a Ring Binder mechanism is a straightforward task that can restore the function of your binder and extend its lifespan. Whether you’re maintaining office binders, customizing stationery for your brand, or repairing damaged folders, understanding this process helps keep your organization system efficient. Below is a comprehensive guide on how to replace a ring binder mechanism safely and correctly.
A ring binder mechanism is the metal spine fitted with rings that hold loose-leaf papers securely in place. It is typically riveted or screwed to the inner spine of the binder cover. Over time, these mechanisms can become misaligned, rusty, or jammed, especially with frequent use. When rings no longer close tightly or the lever stops functioning, replacing the mechanism is the most practical solution.
Most ring binder mechanisms fall into several common types:
| Type | Description | Common Use |
|---|---|---|
| 2-Ring | Simple and lightweight | For small document sets or school binders |
| 3-Ring | Most common in office use | Standard letter-size binders |
| 4-Ring | Provides better paper alignment | Used in European markets |
| D-Ring | Rings shaped like a “D” for more capacity | Ideal for thick documents |
| O-Ring | Fully circular rings | Used in smaller notebooks or photo albums |
Choosing a replacement that matches the size, shape, and spacing of the original mechanism ensures smooth installation and usability.
Before starting the replacement, gather the right tools. The process does not require specialized equipment, but precision helps achieve a neat result.
Replacement ring binder mechanism (matching size and ring configuration)
Screwdriver or small wrench (depending on attachment type)
Drill (for riveted mechanisms)
Rivets or small screws (for re-mounting)
Measuring ruler and marker
Protective gloves
It is also advisable to work on a flat, stable surface with sufficient lighting to prevent accidents.
Lay the binder flat and open it fully. Most binders attach their metal mechanism either by screws or rivets.
If screwed: Use a screwdriver to remove the screws from both ends of the metal spine.
If riveted: Drill gently into the rivet head using a small bit until it loosens, then lift out the mechanism. Be careful not to damage the surrounding vinyl or cardboard cover.
Once removed, inspect the inner spine. Clean any dust or debris to prepare for the new installation.
Measure the length of the old mechanism and the spacing between the rings. Ring spacing must match exactly; otherwise, the holes on your paper will not align. Choose a replacement mechanism that matches these dimensions, and decide whether you want the same ring style (O-Ring or D-Ring).
Position the new mechanism in the same place as the old one. Use a marker to indicate where screws or rivets will go. This ensures your new mechanism sits symmetrically along the binder spine and that the rings will close evenly.
Depending on the type of fastener, follow one of these methods:
For screws: Align holes and fasten screws tightly into place using a screwdriver or wrench.
For rivets: Insert rivets through the holes and compress them with a rivet setter or hammer until firm.
Ensure the mechanism sits flush against the spine with no gaps or wobble.
Close the binder and open the rings several times to confirm smooth operation. The rings should close tightly with no visible gaps, ensuring papers remain secure. If alignment appears uneven, slightly loosen the fasteners, adjust the position, and retighten.
Match finishes – Stainless steel or nickel-plated finishes offer a cleaner, more durable look.
Check capacity – If you often store thick files, upgrading to a D-ring mechanism increases capacity without adding bulk.
Avoid overtightening – Excess pressure on rivets or screws may crack the binder cover.
Use thread lock for screws – A drop of thread lock prevents screws from loosening over time.
Lubricate joints – A light silicone lubricant can keep the levers operating smoothly.
After replacing the mechanism, users sometimes encounter minor problems that can be easily resolved:
| Issue | Possible Cause | Solution |
|---|---|---|
| Rings don’t close properly | Misalignment during installation | Loosen screws, realign, and retighten |
| Mechanism feels loose | Fasteners not tight enough | Reinforce with new screws or rivets |
| Cover damage near rivets | Drilled too deep | Use shorter rivets or washers |
| Lever jams | Excess pressure or debris | Clean and lightly lubricate moving parts |
Performing these checks ensures your repaired binder feels as reliable as a new one.
A properly replaced binder mechanism can last several years with minimal care. Store binders upright, avoid overfilling pages, and periodically wipe the metal surface to prevent rust buildup. If you operate a printing or office supply business, maintaining uniform binder performance across custom orders enhances client satisfaction and brand quality.
For companies manufacturing or customizing office supplies, investing in reliable metal fittings from trusted suppliers can make all the difference. REXON, a professional manufacturer specializing in precision metal components and binder mechanisms, provides durable and corrosion-resistant options for commercial and industrial use. Their binder hardware ensures consistent performance, ideal for large-volume production or OEM customization. You can explore more professional solutions at REXON.
Replacing a ring binder mechanism is an efficient and economical way to restore function to old binders or upgrade custom stationery products. With careful measurement, proper alignment, and the right replacement parts, you can achieve a clean and durable repair that performs like new. Whether you are managing a corporate document system or producing branded office supplies, maintaining reliable binder mechanisms ensures a professional appearance and long-term durability.
